Easy Nordic Hook Club Crochet Dishcloth Free Pattern
A crisp stack of cotton dishcloths brings a tidy, clean feel to any kitchen sink. These cloths have a firm, squishy texture that tackles stuck-on food without leaving behind any lint or scratches on delicate surfaces. Whether you are a beginner picking up a hook for the first time or a long-time maker seeking a quick gift, this project provides a calming rhythm that builds confidence with basic tension. You will practice managing even stitches across every row while creating a utility item that truly lasts. By mastering the fundamental combination of chains and basic loops, you create a dense fabric that holds its shape through many hot water washes and heavy daily use.
Why You’ll Love This Pattern
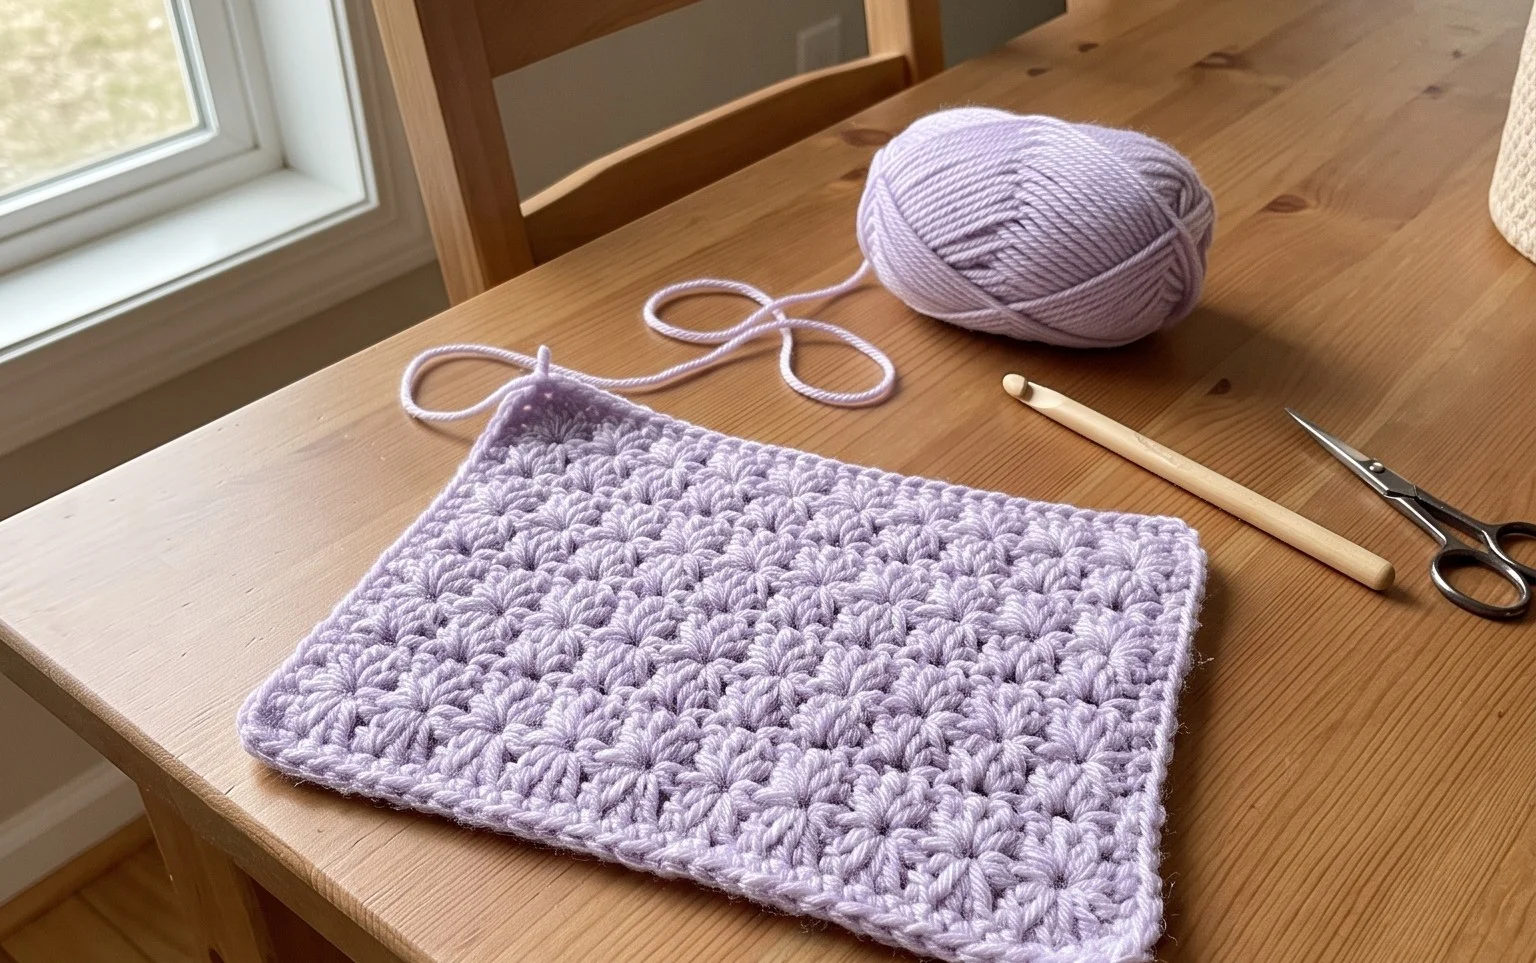
This classic crochet dishcloth works up in under an hour, making it an ideal project for using up leftover cotton yarn from larger home decor items. The textured stitch pattern is designed to provide excellent scrubbing power for everyday kitchen tasks while remaining soft enough to handle glassware. Because it is worked in a simple back-and-forth row structure, it offers a relaxing, meditative rhythm for experienced crocheters and a manageable challenge for beginners looking to master tension control. The finished fabric is dense and durable, surviving hundreds of wash cycles without losing its shape.
I managed to finish a set of four in a single weekend. The texture is perfect for scrubbing pans without scratching them, and the pattern is very easy to memorize after the first few rows.
— Sarah, home crafter
Pattern Overview & Skill Level
- Skill Level: Beginner
- Approximate Time: 45–60 minutes per dishcloth
- Construction: Worked in flat rows starting from a foundation chain
- Finished Dimensions: 8 inches by 8 inches
Materials & Supplies Needed
- Yarn: Worsted weight (#4) 100% cotton yarn, approximately 60 yards per dishcloth. Cotton is necessary for its absorbency and heat resistance.
- Hook Size: 5.0 mm (US H-8)
- Notions needed: Yarn needle for weaving in ends, scissors, and an optional stitch marker to keep track of row edges.
- Safe yarn substitutions: You may use a cotton-linen blend for increased durability, though this will result in a slightly stiffer fabric. Avoid acrylic yarns, as they do not absorb water and will melt if they come into contact with hot cookware.
Stitch Guide & Abbreviations (US Terms)
- ch: chain
- sc: single crochet (insert hook, yarn over, pull up a loop, yarn over, pull through both loops on hook)
- dc: double crochet (yarn over, insert hook, pull up a loop, yarn over, pull through two loops, yarn over, pull through remaining two loops)
- st/sts: stitch/stitches
- sl st: slip stitch
- turn: turn your work to begin the next row
Step-by-Step Pattern Instructions
Foundation and Main Body
- Row 1: Ch 31. Sc in the second ch from hook and in each ch across. (30 sts)
- Row 2: Ch 1, turn. Sc in the first st, dc in the next st. Repeat (sc, dc) across until 1 st remains. Sc in the last st. (30 sts)
- Row 3: Ch 1, turn. Dc in the first st, sc in the next st. Repeat (dc, sc) across until 1 st remains. Dc in the last st. (30 sts)
- Rows 4–30: Repeat Rows 2 and 3 until the piece measures 8 inches long. Ensure the final row count ends on a Row 2 sequence.
Border and Finishing
- Border: After completing the final row, ch 1 and turn. Work 1 sc in each st across the top. At the corner, work 3 sc into the same st to create a rounded edge. Continue working sc evenly down the side of the cloth, working approximately 1 sc per row end. Repeat this around all four sides, working 3 sc into each corner stitch.
- Joining: Join with a sl st to the first sc of the border. Fasten off.
- Weaving Ends: Use your yarn needle to weave the starting and ending tails back through the base of the stitches on the reverse side of the cloth. Trim any excess yarn close to the fabric.
Care & Washing Instructions
- Machine wash in warm water (up to 105 degrees Fahrenheit) with like colors to prevent dye transfer.
- Tumble dry on low heat or lay flat on a towel to air dry to prevent shrinkage.
- Pull the cloth gently into a square shape while damp to ensure it remains flat and maintains its dimensions after drying.
Pro Tips & Common Mistakes to Avoid
Maintain consistent tension throughout the project, especially during the chain stitches in the first row. If your starting chain is too tight, the finished cloth will have a curved edge rather than a straight line. Use a stitch marker at the end of every row to ensure you are catching the last stitch, as beginners often accidentally skip the final stitch, which causes the edges to slant inward. When weaving in your ends, run the needle through the center of the stitches rather than across the gaps; this hides the tail inside the fabric and prevents it from unraveling during heavy use. You can easily adjust the size by changing the starting chain to an odd number; however, note that increasing the size will require additional yardage beyond the recommended 60 yards per cloth.
Frequently Asked Questions
Can I use a larger hook size for this pattern?
Using a larger hook will result in a more open, loose weave. While this makes the cloth work up faster, it reduces the scrubbing density, which is not recommended for heavy-duty kitchen tasks.
Is this pattern suitable for complete beginners?
Yes, this project only requires the ability to chain, single crochet, and double crochet. It is an excellent way to practice maintaining even tension across a long row.
How do I adjust the size of the dishcloth?
To make the cloth larger or smaller, start with an odd number of chains. Every row must still contain 30 stitches to maintain the rectangular shape, so ensure your starting chain matches the desired width of your project.
Can I sell the dishcloths I make from this pattern?
You are welcome to sell finished items made from this pattern as long as you credit the design. Always include your own care instructions and ensure the materials used are safe for the customer.
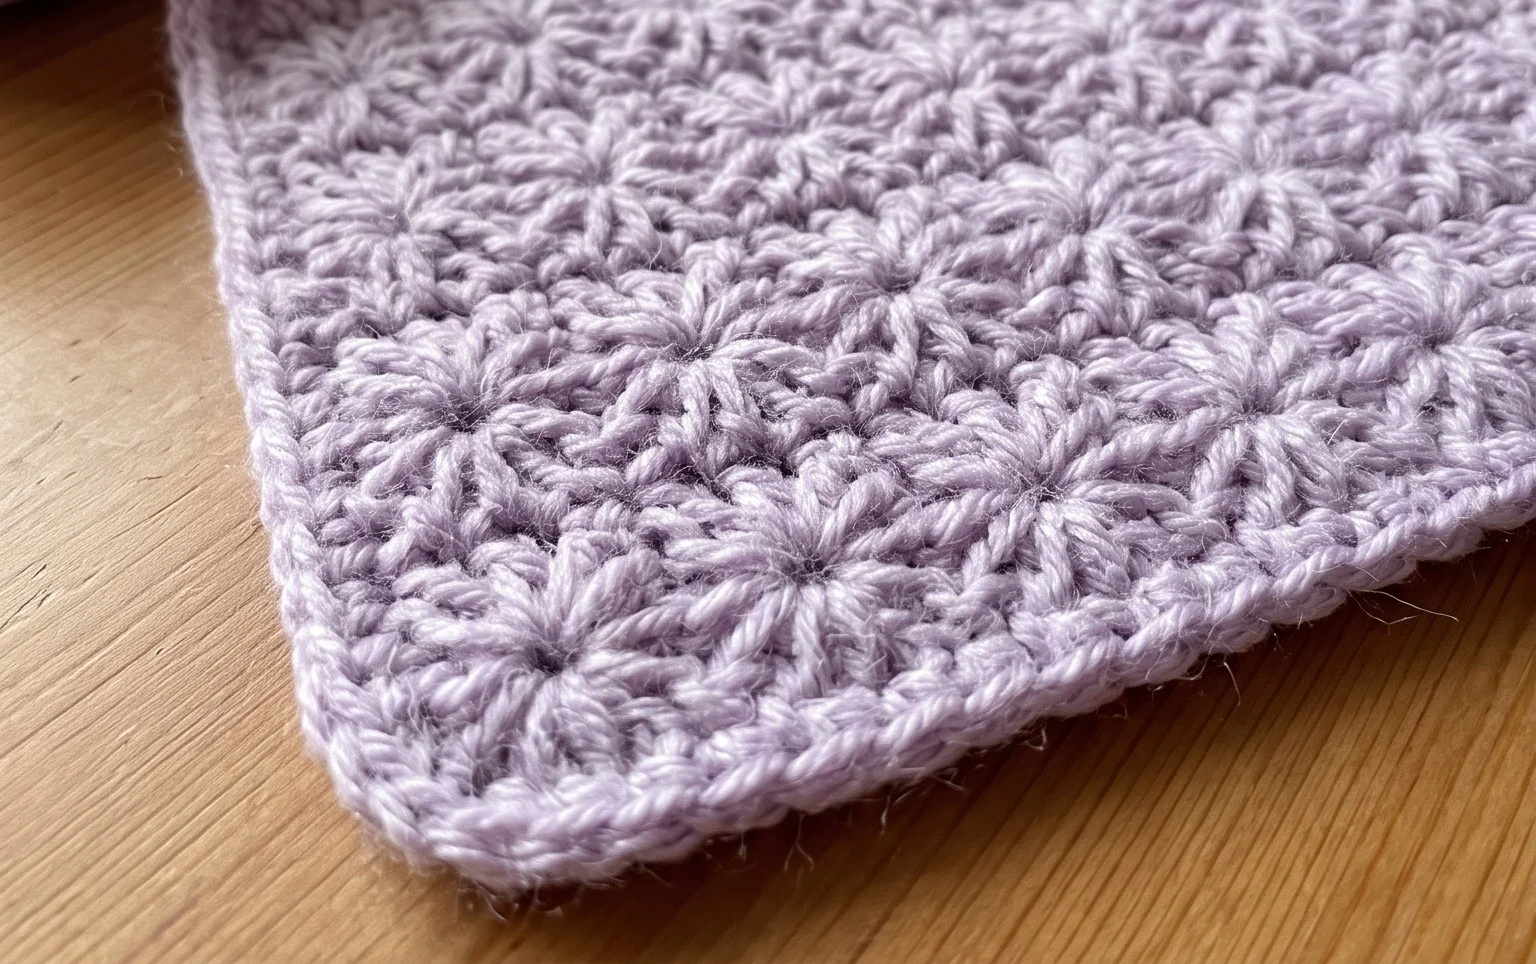
Your new set of scrubbers adds a touch of functional beauty to your kitchen while proving that handmade items often perform better than store-bought alternatives. Try alternating colors every two rows if you want a striped look that brightens up a neutral space. Once you finish your set, take a photo to share your progress with other makers online. Explore the rest of the blog for more simple home decor projects and fresh techniques to grow your skills. Every stitch brings you closer to a more organized and personalized home environment.