Collina Chunky Crochet Throw: Easy Free Step-by-Step
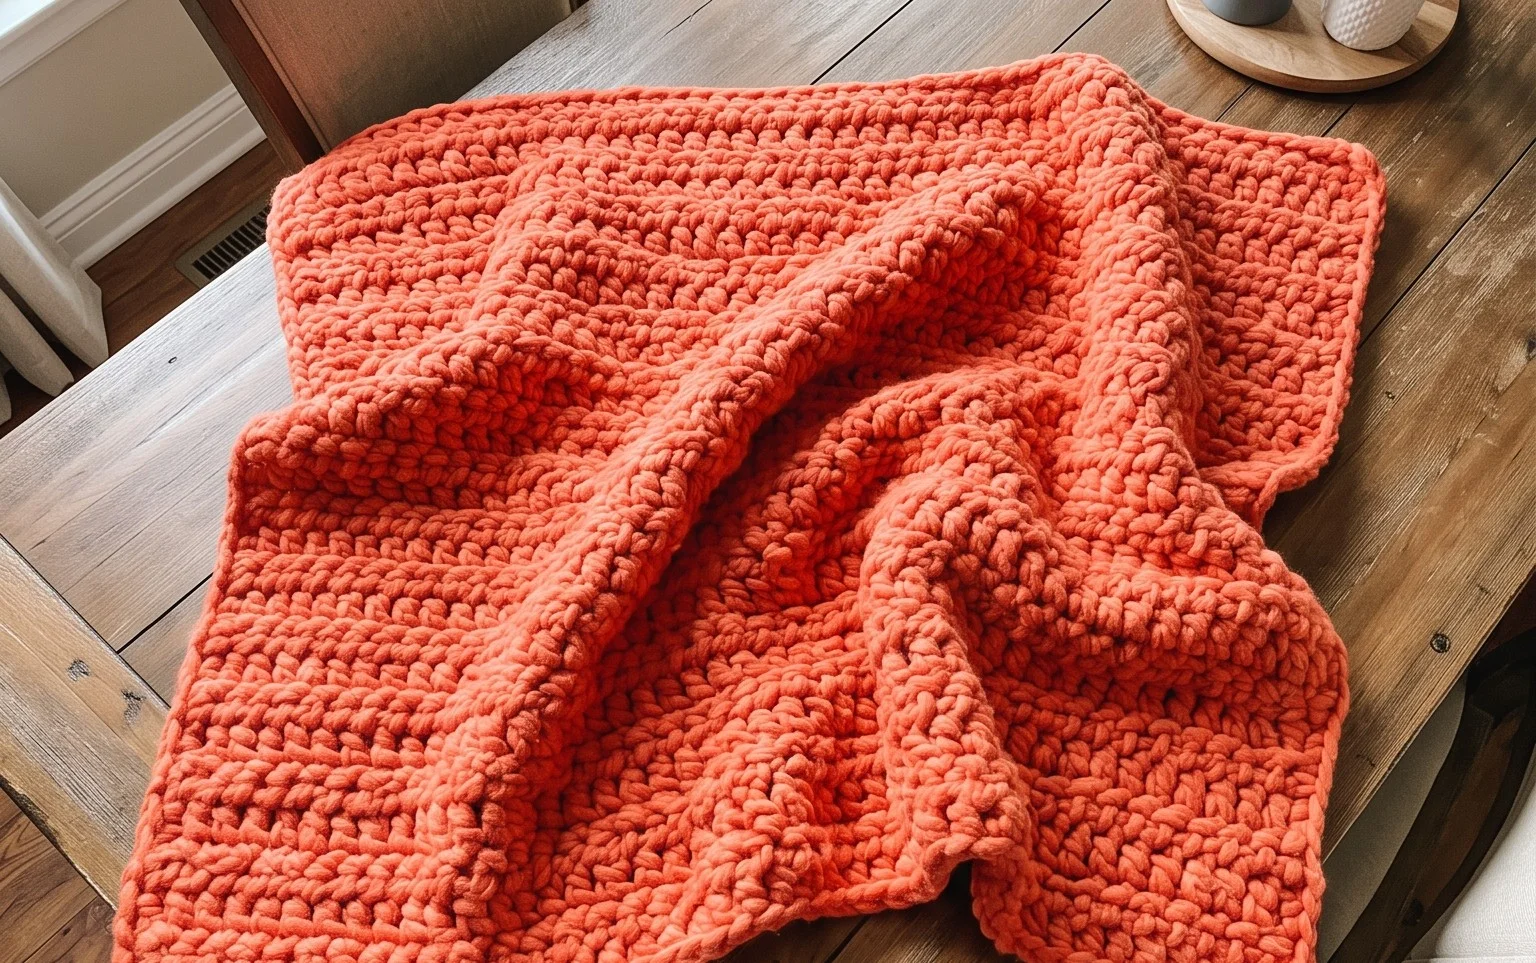
This heavy, warm blanket feels like a thick woolen hug, providing the weight and comfort needed for long winter evenings spent on the sofa. Beginners appreciate the meditative rhythm of the double crochet stitches, while experienced makers enjoy how quickly the chunky yarn transforms into a finished piece. You will gain confidence with the foundational techniques required to build large, cozy home decor items from small individual units. Each completed section builds your skill, turning basic loops into a plush, textured fabric that is ready for snuggling. You start with simple squares and join them together into a beautiful, functional throw that adds a soft touch to any room.
Why You’ll Love This Pattern
The Classic Crochet Granny Square is the quintessential building block of the craft, relying on a simple three-double-crochet cluster technique that works up quickly. This pattern is ideal for using up leftover yarn scraps from previous projects, as you can change colors every round to create a unique aesthetic. Because the square grows outward from the center, you can stop at any size to create coasters, dishcloths, or larger panels for blankets. The repetitive nature of the stitches makes it a relaxing project to work on while listening to an audiobook or watching television.
I finally mastered the transition between corners and sides thanks to this clear guide. My first square lay perfectly flat, which I could never achieve with other instructions.
— Sarah, beginner crocheter
Pattern Overview & Skill Level
- Skill Level: Beginner
- Approximate Time: 30 to 45 minutes per square
- Construction: Worked in joined rounds, starting from a center ring
- Finished Dimensions: Approximately 6 inches by 6 inches using medium weight yarn
Materials & Supplies Needed
- Yarn: Worsted weight (#4), 100% cotton or acrylic blend, approximately 20 yards per square.
- Hook Size: 5.0 mm (US H-8).
- Notions: Tapestry needle for weaving in ends, sharp scissors.
- Safe yarn substitutions: You may use DK weight (#3) yarn with a 4.0 mm hook for a smaller, tighter square, or bulky weight (#5) with a 6.0 mm hook for a larger, quicker square.
Stitch Guide & Abbreviations (US Terms)
- ch: chain
- st(s): stitch(es)
- sl st: slip stitch
- dc: double crochet
- dc cluster: 3 dc worked into the same space
- sp: space (the gap created by the chain stitches)
Step-by-Step Pattern Instructions
The Square Body
- Rnd 1: Ch 4, sl st to the first chain to form a ring. Ch 3 (counts as first dc), work 2 dc into the ring, ch 2. 3 dc into ring, ch 2—repeat from * to * 2 more times. Sl st to the top of the beginning ch-3. (12 sts, 4 ch-2 spaces)
- Rnd 2: Sl st into the next ch-2 corner space. Ch 3, 2 dc into the same corner sp, ch 2, 3 dc into the same corner sp. Ch 1, (3 dc, ch 2, 3 dc) in the next corner sp—repeat from * to * 2 more times. Ch 1, sl st to the top of the beginning ch-3. (24 sts, 4 ch-2 spaces, 4 ch-1 spaces)
- Rnd 3: Sl st into the next corner space. Ch 3, 2 dc in the same corner sp, ch 2, 3 dc in same corner sp. Ch 1, 3 dc in the next ch-1 side space, ch 1. (3 dc, ch 2, 3 dc) in the next corner sp, ch 1, 3 dc in the next side space, ch 1—repeat from * to * 2 more times. Sl st to top of beginning ch-3. (36 sts, 4 ch-2 spaces, 8 ch-1 spaces)
- Rnd 4: Continue the pattern by working (3 dc, ch 2, 3 dc) into every corner and 3 dc in every side chain space, separated by a ch 1. Repeat until the square reaches your desired size.
- Finishing: Fasten off your yarn, leaving a 6-inch tail. Pull the tail through the final loop and use a tapestry needle to weave the end through the back of the stitches to secure it.
Care & Washing Instructions
- Hand wash in cool water using a mild detergent to preserve the structure of the crochet stitches.
- Lay the square flat on a clean towel and reshape it while damp to ensure the corners stay square.
- Avoid using a tumble dryer, as heat can cause uneven shrinkage in synthetic fibers or pilling in natural cotton.
Pro Tips & Common Mistakes to Avoid
- Use a stitch marker in the top of your beginning ch-3 of each round to easily identify where to slip stitch to close the round.
- Maintain consistent tension when working the chains between clusters; if your chains are too tight, the square will curl instead of lying flat.
- Weave your yarn tails in at least three different directions through the back of your clusters to ensure they do not pull out after repeated washing.
- Adjusting the size is simple; simply add more rounds using the same corner-increase logic. Keep in mind that larger squares require significantly more yardage, so ensure you have enough matching yarn before starting a large project.
Frequently Asked Questions
Can I use different types of yarn in one square?
Yes, but try to stick to the same weight (e.g., all worsted) to ensure the square remains flat. Mixing fibers like cotton and wool can lead to uneven tension because they stretch differently.
Why is my square curling at the edges?
Curling usually happens if your chain stitches are too tight or if you are accidentally skipping a stitch. Ensure you are consistently working into the chain spaces, not just the tops of stitches.
How do I know if I have enough yarn to finish?
A good rule of thumb is to measure your progress by weight. If you are halfway through the planned size and have used more than half of your yarn, you may need to stop early to ensure you have enough to complete the final round.
Is it okay to sell items made from this pattern?
This pattern is intended for personal use and gift-giving. Please check the specific terms of the designer if you intend to sell physical items created from this guide, as intellectual property rights vary by creator.
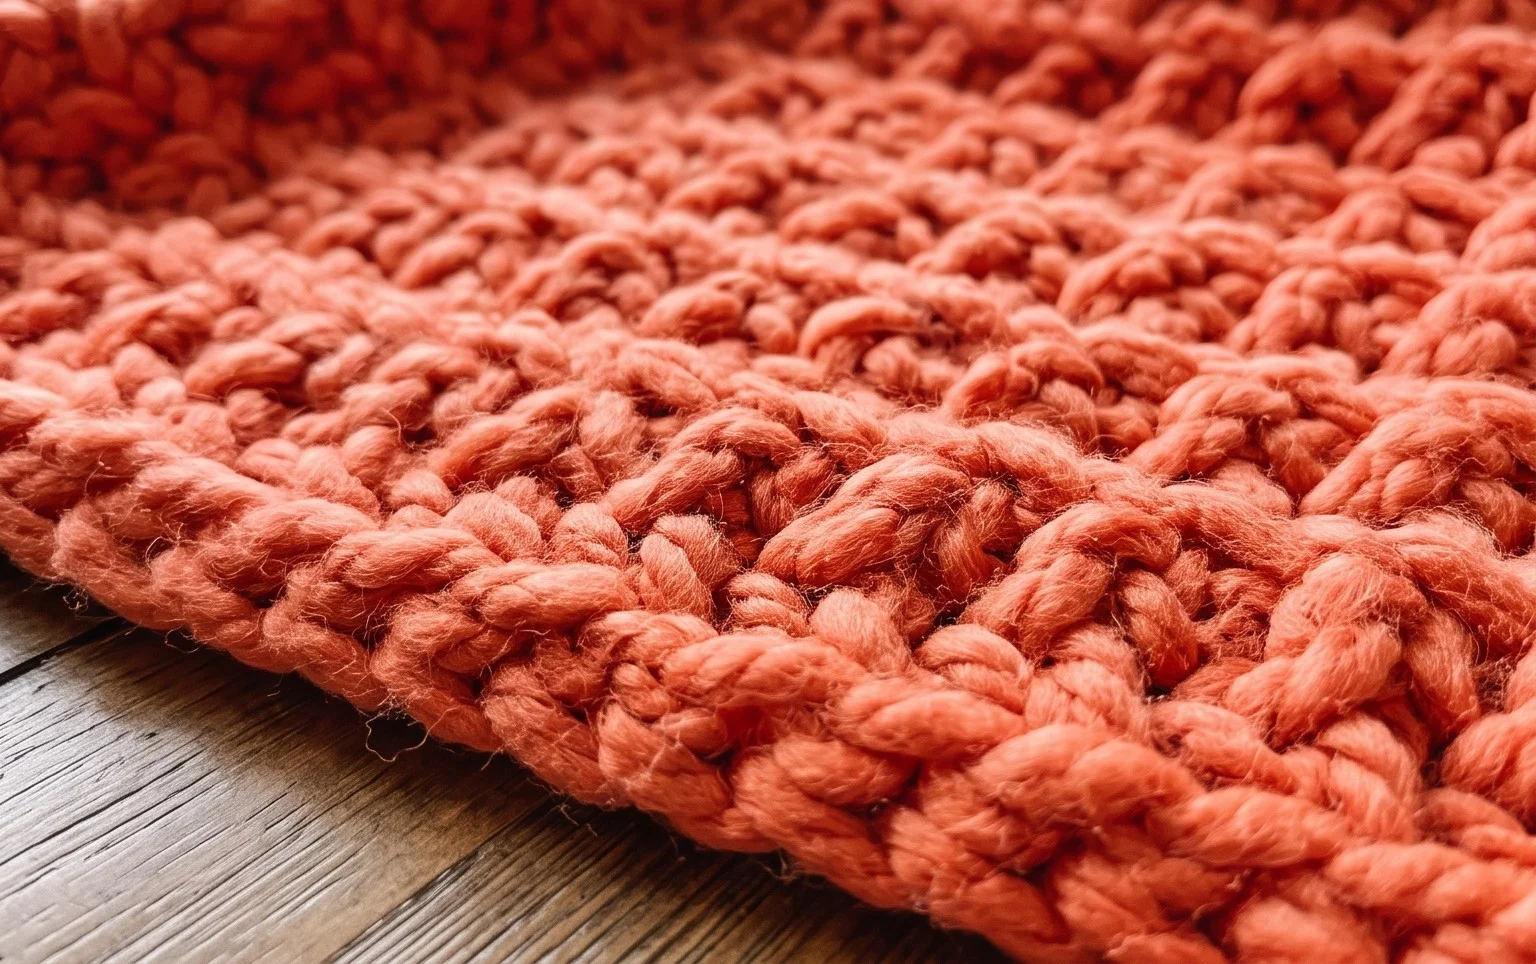
Your new chunky throw offers a heavy, comforting drape that transforms any armchair into a favorite reading spot. You could change the look entirely by using a single solid color for a modern appearance or by striping two alternating shades for a bold graphic effect. Sharing your finished work online helps others see how different color combinations change the overall vibe of the design. Feel free to browse through the rest of the blog for more patterns to use your remaining yarn scraps or to start your next creative project soon.