Easy 3D Crochet Stitch Pattern: Step-by-Step Tutorial
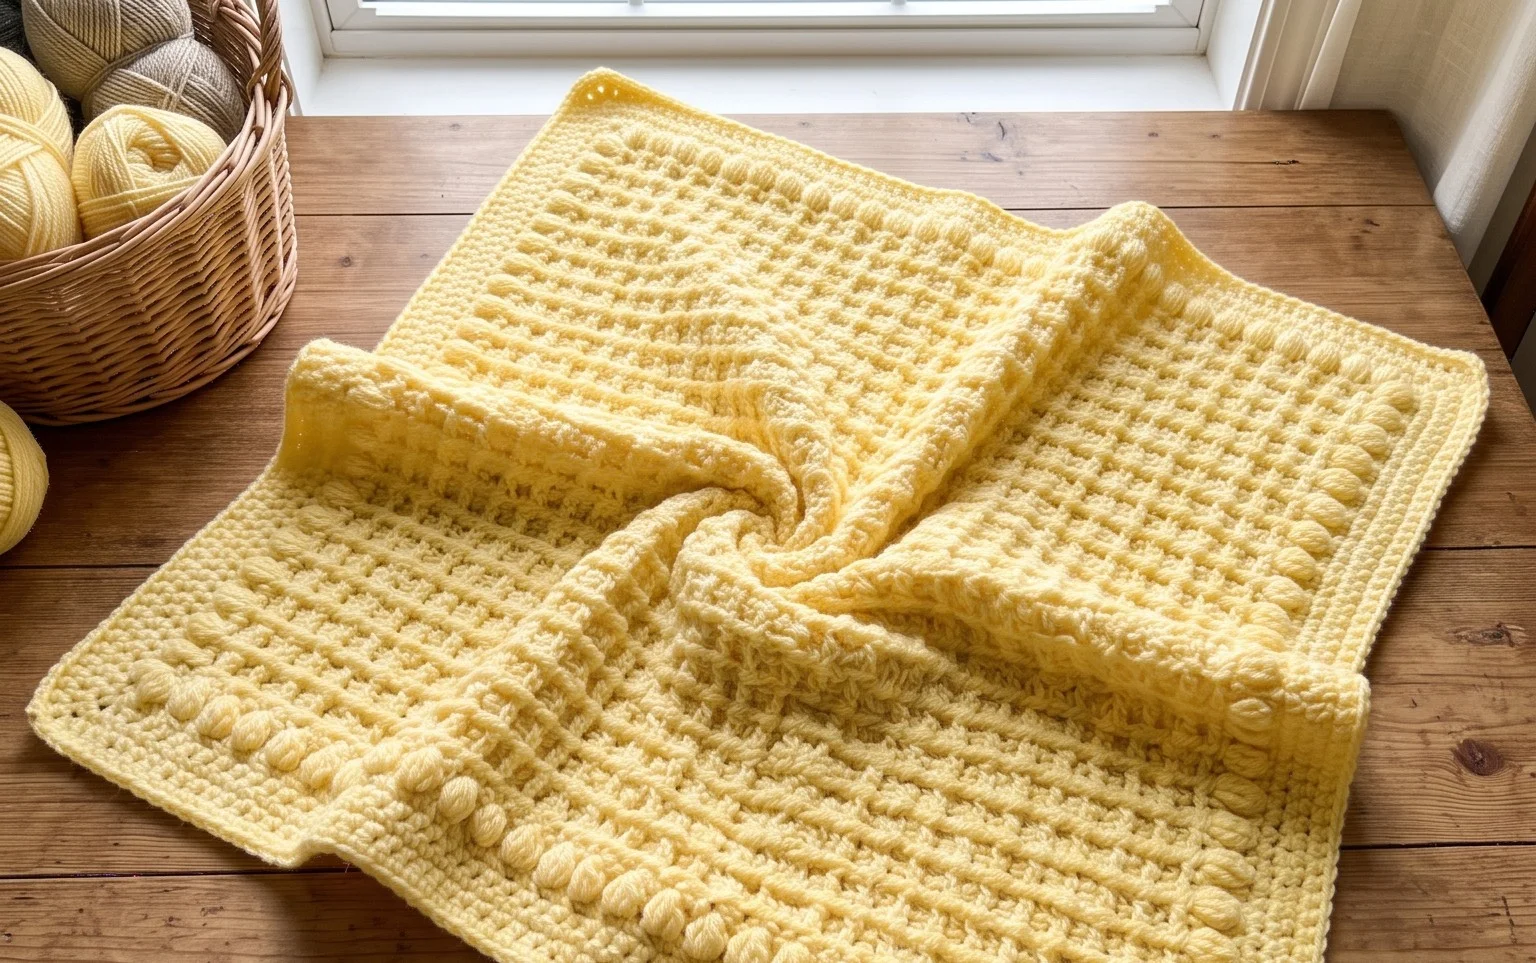
Dense, squishy bumps define the surface of this fabric, creating a tactile texture that feels substantial under your fingers. Beginners enjoy this method because it relies on standard movements to produce complex-looking results that resemble miniature bubbles or rows of tiny popcorns. You can transform basic acrylic yarn into a decorative cushion cover, a warm winter headband, or even a textured border for a simple baby blanket. Learning this technique requires only a few minutes of practice, helping you build confidence before starting larger home decor projects that benefit from extra weight and visual depth.
Why You’ll Love This Pattern
The Classic Crochet Granny Square is the foundation of countless heritage-style blankets, tote bags, and cardigans. This pattern relies on a simple three-double-crochet cluster technique that works up quickly, making it a perfect project for television watching or travel. Because you use basic chain spaces to create the corners, the square stays perfectly flat without rippling or curling. You can easily adjust the size of the final piece by adding more rounds, allowing you to use up partial skeins of leftover yarn from previous projects.
I learned to crochet with this exact pattern and found the rhythm of the double crochet clusters incredibly soothing after a long day at the office.
— Sarah, hobbyist maker
Pattern Overview & Skill Level
- Skill Level: Beginner
- Approximate Time: 30 to 45 minutes per square
- Construction: Worked in joined rounds, starting from the center and expanding outward
- Finished Dimensions: Approximately 6 inches by 6 inches using worsted weight yarn
Materials & Supplies Needed
- Yarn: Worsted weight (#4), 100% acrylic or wool blend, approximately 20 yards per square.
- Hook Size: 5.0 mm (US H-8).
- Notions: Tapestry needle for weaving ends, sharp scissors.
- Yarn Substitutions: You may use DK weight yarn for a smaller, delicate square, but you will need to increase the number of rounds to reach the same finished size. Cotton yarn works well for dishcloths but has less stretch than acrylic.
Stitch Guide & Abbreviations (US Terms)
- ch = chain
- st = stitch
- sl st = slip stitch
- dc = double crochet
- dc cluster = 3 double crochet stitches worked into the same space
- sp = space (the gap created by the chains in the previous round)
Step-by-Step Pattern Instructions
Center and Foundation
- Rnd 1: Ch 4, join with sl st to first ch to form a ring. Ch 3 (counts as first dc here and throughout), work 2 dc into the ring, ch 2, *3 dc into ring, ch 2; repeat from * two more times. Join with sl st to top of starting ch-3. (12 dc, 4 ch-2 sps)
Expanding the Square
- Rnd 2: Sl st into the next ch-2 sp. Ch 3, 2 dc in same sp, ch 2, 3 dc in same sp (first corner made). Ch 1, *3 dc in next ch-2 sp, ch 2, 3 dc in same sp, ch 1; repeat from * around. Join with sl st to top of starting ch-3. (24 dc, 8 ch-1 sps, 4 ch-2 sps)
- Rnd 3: Sl st into the next ch-1 sp, ch 3, 2 dc in same sp. Ch 1, *in next ch-2 corner sp work (3 dc, ch 2, 3 dc), ch 1, 3 dc in next ch-1 sp, ch 1; repeat from * around. Join with sl st to top of starting ch-3. (36 dc, 12 ch-1 sps, 4 ch-2 sps)
- Rnd 4: Continue the pattern by working 3 dc into every ch-1 sp along the sides and (3 dc, ch 2, 3 dc) into every corner ch-2 sp. Always work a ch-1 between side clusters. Join with sl st at the end of the round. (48 dc)
Finishing
Fasten off your yarn, leaving a 6-inch tail. Use your tapestry needle to weave the tail back and forth through the back of the double crochet clusters to secure the end. For a professional finish, block your square by dampening it with water and pinning it to a flat surface until dry.
Care & Washing Instructions
- Machine wash in cold water on a delicate cycle to prevent fiber pilling.
- Lay the square flat on a clean towel to air dry, as hanging can cause the stitches to stretch out of shape.
- Reshape the square while damp to ensure the corners remain at 90-degree angles.
Pro Tips & Common Mistakes to Avoid
Maintain consistent tension by ensuring your yarn wraps around your finger with the same amount of drag for every stitch. Use a stitch marker in the top of your starting chain-3 to easily identify where to join your round; this prevents the common mistake of skipping the join or working too many stitches. Weave your ends in diagonally across the back of the cluster stitches to keep the movement invisible from the front. If you decide to make the square larger, keep in mind that each additional round will require significantly more yarn than the previous one, so ensure you have enough yardage for the final border.
Frequently Asked Questions
Can I use a different hook size for this square?
Yes, changing your hook size will change the drape and overall size of the square. A smaller hook will result in a tighter, stiffer fabric, while a larger hook will make the square lacier and more flexible.
Is this project suitable for a complete beginner?
Absolutely. The granny square relies on the most basic stitches, and because it is worked in rounds, you do not have to worry about turning your work or counting rows in the same way you would with a flat-worked scarf.
How do I join multiple squares together?
You can join squares using a whip stitch along the back loops of the edge stitches or by using a slip stitch join to create a decorative raised seam between the squares.
Can I sell items made from this pattern?
Check the specific terms of the designer if you found this pattern elsewhere, but generally, handmade items created from basic stitch patterns can be sold, provided you use your own photography and do not copy the written instructions.
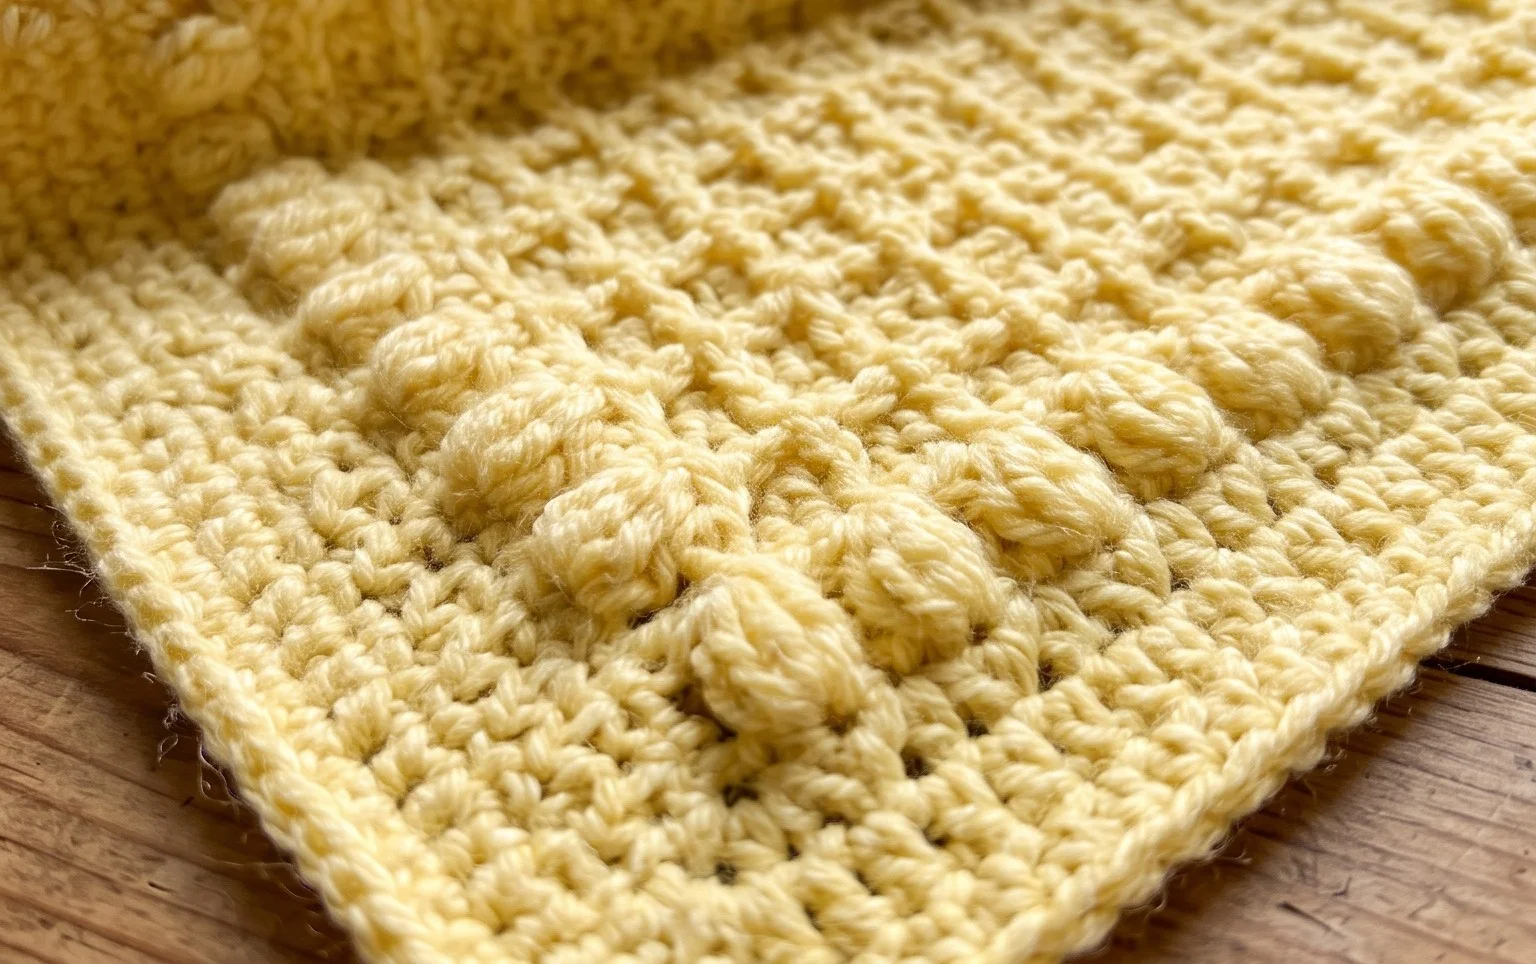
Your finished piece now displays a rich, tactile surface that adds character to any room in your home. Experiment with high-contrast variegated yarn for a bolder look or switch to a soft cotton blend if you want to use the square as a sturdy coaster. Posting a photo of your textured creation on social media helps other makers see how the stitches pull together. Check the archives on this site for more free patterns that focus on similar skill-building techniques for your next project.