Free Crochet Flower Bouquet Patterns: Easy DIY Tutorial
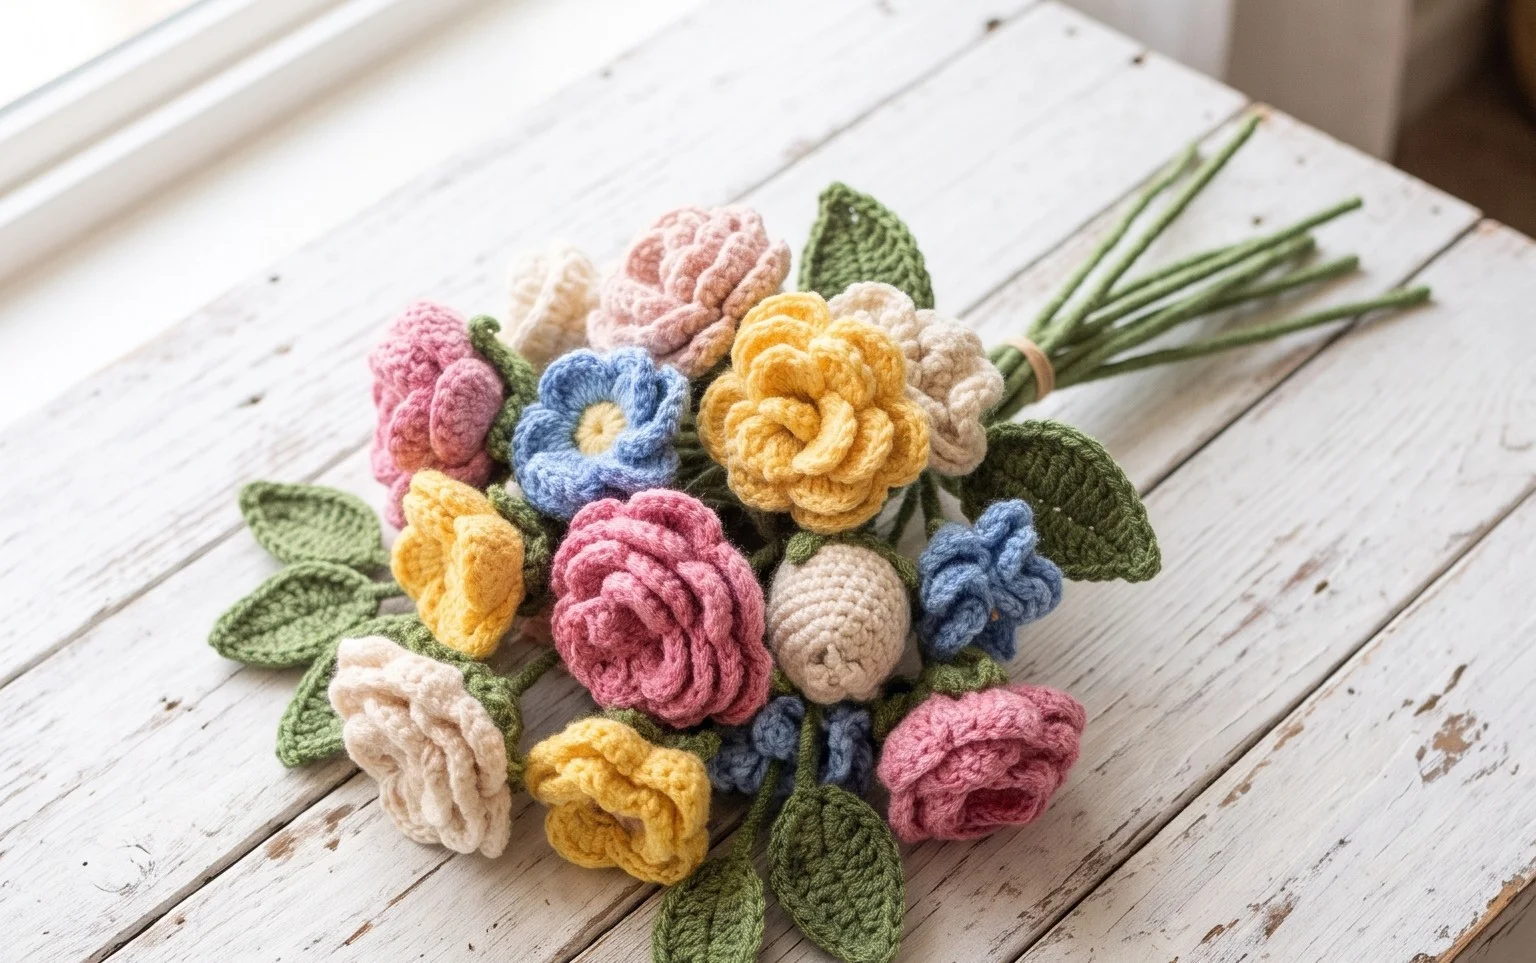
Soft cotton petals that never wilt provide a brightenening touch to any bedside table or desk regardless of the season. These handmade arrangements appeal to those who enjoy gifting personalized items or anyone wanting to add a touch of color to their home without needing a green thumb. Each stem comes together with a simple chain stitch and single crochet loops, meaning you can build an entire display during a single quiet afternoon. You will find that these patterns rely on basic increases to create lifelike organic shapes, helping you master tension while building a lasting collection of everlasting blooms.
Why You’ll Love This Pattern
This beginner-friendly crochet coaster pattern provides a practical way to protect your furniture while practicing fundamental stitch techniques. The design works up in under twenty minutes, making it a functional project for utilizing small amounts of leftover cotton yarn. Because it uses a simple increase structure, the finished shape remains perfectly flat, ensuring your drinks sit level without wobbling. You can easily adjust the size of the final product by adding or subtracting final rounds to suit your specific glassware or mug diameter.
I managed to finish a full set of six coasters in one weekend using yarn from my scrap basket. The instructions are incredibly clear and the finished pieces lay completely flat on my coffee table.
— Sarah, home crafter
Pattern Overview & Skill Level
- Skill Level: Beginner
- Approximate Time: 15–20 minutes per coaster
- Construction: Working in continuous rounds starting with a magic ring
- Finished Dimensions: 4 inches in diameter
Materials & Supplies Needed
- Yarn: Worsted weight (#4) 100% cotton yarn, approximately 15 yards per coaster. Cotton is essential for heat resistance and absorbency.
- Hook Size: 5.0 mm (US H-8)
- Notions: Tapestry needle for weaving ends, stitch marker to track the start of each round, scissors.
- Yarn Substitutions: Acrylic yarn is a common substitute, but keep in mind that it does not absorb moisture as well as cotton and may melt if exposed to very hot drinkware. Using a DK weight yarn with a 4.0 mm hook will result in a smaller coaster, while bulky weight yarn with a 6.0 mm hook will create a larger, thicker mat.
Stitch Guide & Abbreviations (US Terms)
- MR: Magic ring
- ch: Chain
- sc: Single crochet
- inc: Increase (2 single crochet stitches worked into the same stitch)
- sl st: Slip stitch
- st(s): Stitch(es)
Step-by-Step Pattern Instructions
Coaster Body
- Rnd 1: Work 6 sc into a MR. Pull the ring tight. (6 sts)
- Rnd 2: Work 2 sc in each st around. (12 sts)
- Rnd 3: 1 sc, inc repeat from * to * 6 times. (18 sts)
- Rnd 4: 2 sc, inc repeat from * to * 6 times. (24 sts)
- Rnd 5: 3 sc, inc repeat from * to * 6 times. (30 sts)
- Rnd 6: 4 sc, inc repeat from * to * 6 times. (36 sts)
Finishing
To finish the coaster, join the final round with a slip stitch into the first stitch of the previous round. Cut the yarn, leaving a 6-inch tail. Pull the tail through the final loop to secure the knot. Use a tapestry needle to weave the tail into the back of the work, moving the needle through the base of the stitches to ensure the end remains hidden and secure. Repeat this process with the starting yarn tail at the center of the magic ring to prevent the middle from loosening over time.
Care & Washing Instructions
- Machine wash the coasters in cold water on a gentle cycle to maintain fiber integrity.
- Reshape the coasters while damp and lay them flat on a towel to air dry.
- Avoid using fabric softener, as it reduces the absorbency of the cotton fibers.
Pro Tips & Common Mistakes to Avoid
Maintaining consistent tension is the most important factor for ensuring your coaster stays flat. If you notice your edges ruffling, your tension is likely too loose or you are adding too many stitches; if the piece starts to cup like a bowl, your tension is too tight or you need to add an increase.
Always place a stitch marker in the first stitch of every round. Because this pattern uses continuous rounds without joining at the end of each, it is very easy to lose track of where your round begins.
Weave your yarn tails in multiple directions rather than just straight across. This prevents the ends from poking out after the coaster has been through the wash several times.
To scale the size of this project, continue the increase pattern of x sc, inc for additional rounds. Keep in mind that for every round you add, you will need approximately 5 additional yards of yarn.
Frequently Asked Questions
Can I use a different weight of yarn for this pattern?
Yes, you can use different yarn weights. If you use a thinner yarn, such as sport weight, you may need to add an extra round to reach the standard 4-inch diameter. If you use a thicker yarn, you should stop at round 5 to prevent the coaster from becoming too large.
Why does my coaster curl up into a bowl shape?
Cupping happens when there are not enough stitches in the round to keep the fabric flat. Ensure you are following the increase sequence correctly. If your tension is naturally tight, try moving up to a larger hook size to help the fabric spread out.
Is this project suitable for absolute beginners?
This project is ideal for those learning to crochet. It covers the magic ring technique, single crochet stitches, and the standard method for increasing in the round, which are the building blocks for many larger projects like hats and bags.
Am I allowed to sell coasters made from this pattern?
You are welcome to sell finished items made from this design. Please credit the pattern origin when selling online or at craft markets, but do not distribute or sell the written instructions themselves.
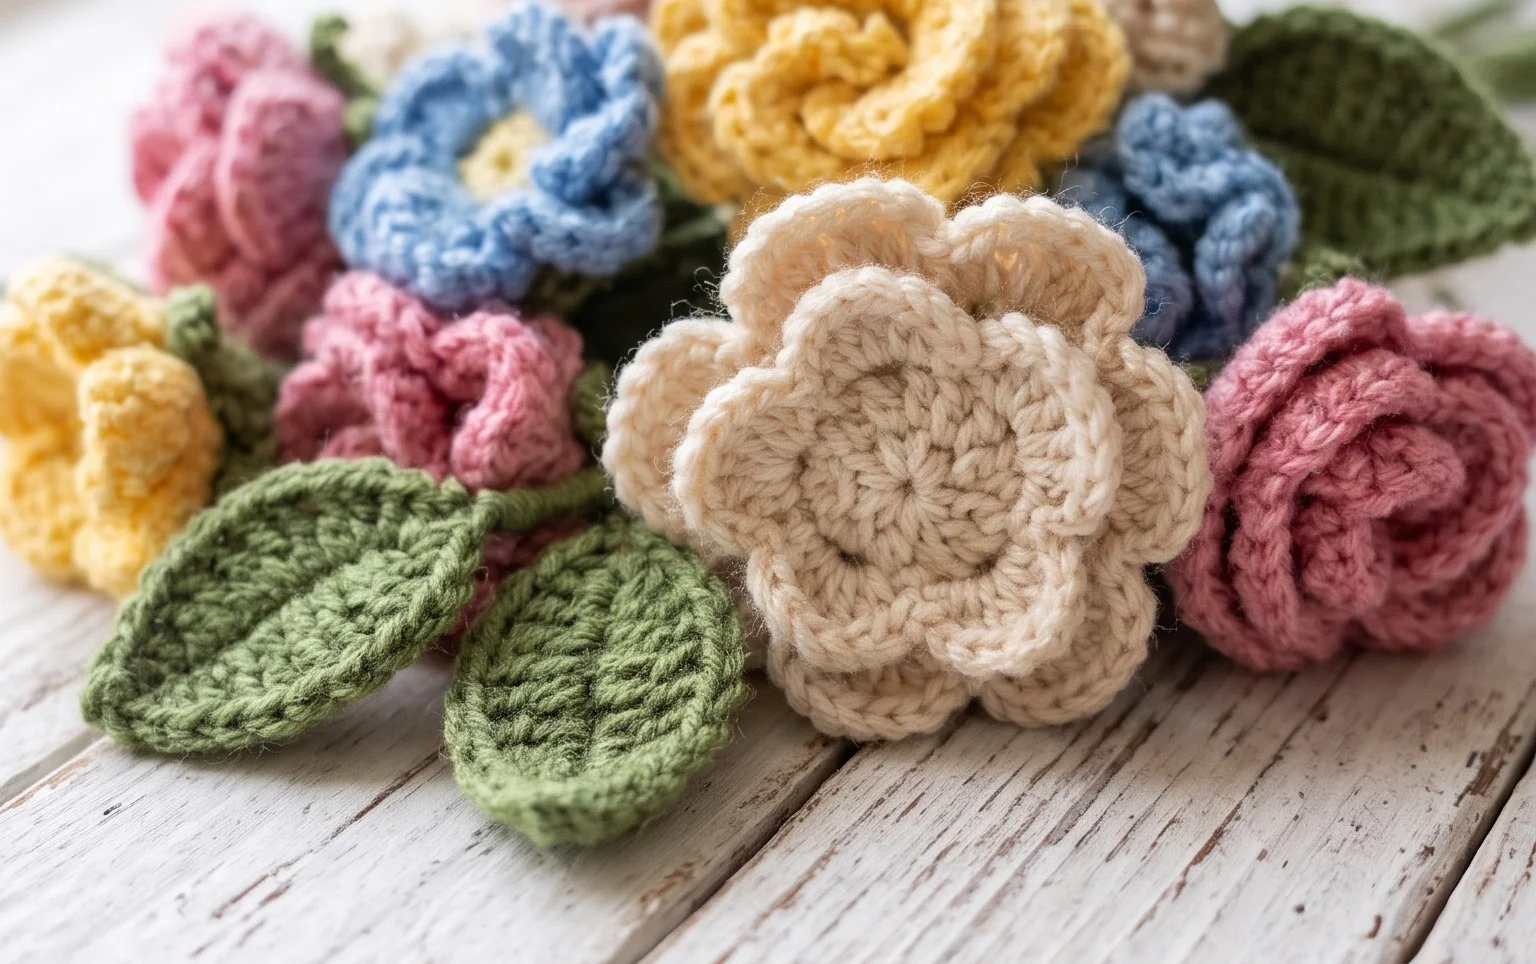
Your finished handmade arrangement brings lasting charm to your home decor without the need for water or sunlight. You can vary the look of your display by using variegated yarn for the petals or adding green felt leaves to the base of each stem for extra dimension. If you choose to share your work on social media, tag your posts so others can see your color choices. Please check back on the blog frequently as we post new projects for you to attempt next.